Are you ready to unlock the full potential of your Roblox creations and transform your passion into profit? The Creator Hub, the gateway to your Roblox empire, provides you with everything you need to learn, manage, and grow your content, offering a seamless path from idea to revenue.
For aspiring game developers, seasoned creators, and everyone in between, the world of Roblox offers incredible opportunities. One of the most powerful tools in this arsenal is the ability to create and monetize game passes. These digital keys unlock exclusive content, features, and benefits for players, providing a direct revenue stream and enhancing the overall gaming experience. This article provides an in-depth look at creating and managing game passes within the Roblox ecosystem, ensuring you have the knowledge and tools to succeed.
Let's delve into the step-by-step process of creating game passes, leveraging the Creator Dashboard, and optimizing your offerings to maximize their impact. We'll cover every aspect, from the initial concept to the final implementation, giving you a comprehensive understanding of how to thrive in this dynamic environment. Furthermore, we'll explore the recent enhancements to the Creator Dashboard, specifically the incorporation of badge creation and improvements to experience and developer product management, making it even easier to manage your assets and boost your creations. This empowers creators, allowing them to manage their creations on the go as the dashboard can be used on any device.
The Creator Hub stands as a testament to Roblox's commitment to supporting its creators. It's a comprehensive resource that provides tools, documentation, and a supportive community to help you succeed. Now, with the addition of badge creation and updates to experience and developer product management, managing your assets has never been easier.
To create a game pass and start earning Robux, follow these simple steps:
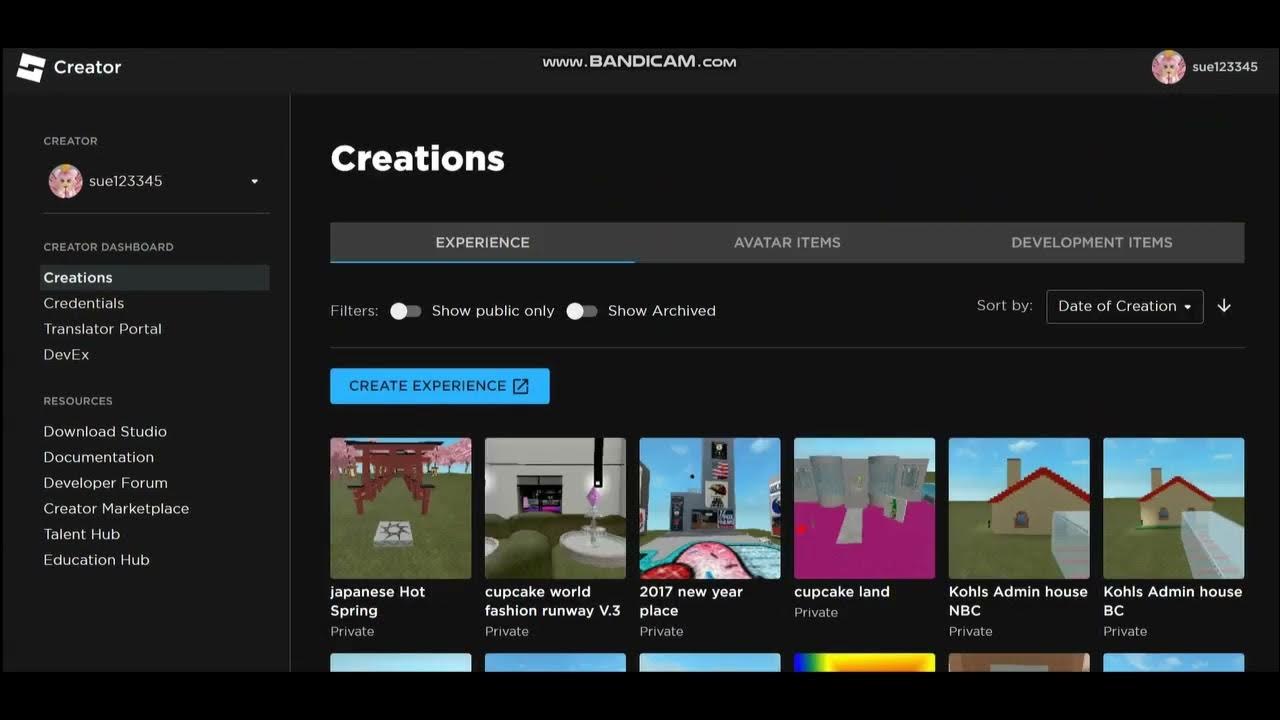
- Access the Creator Dashboard: Enter the creator dashboard on the Roblox website to begin.
- Locate Your Game: Find the game you want to create a pass for, and then select "Associated Items."
- Navigate to Passes: This will bring up a list of all passes that have been created for the game.
- Create a New Pass: To create a new pass, press the "Create a Pass" button.
- Fill in the Details: Click on "Create New Pass" and fill in the required details.
- Add Visuals: Upload any image, such as a simple logo or icon, to represent your game pass.
- Name Your Pass: Give your game pass a short, descriptive name like "Donate 10 Robux" or "Support Me." This clarity helps players understand the purpose of the pass.
Remember, you can sell these passes for the amount of Robux you choose, providing you with a direct source of income from your creations. Free to create, it's a low-risk, high-reward opportunity.
For detailed information on creating and using passes, refer to the experience passes documentation. This document provides valuable insights and best practices to help you maximize your success.
Roblox is a global platform that brings people together through play. It fosters creativity, collaboration, and innovation. The Creator Hub is a crucial part of this experience. By utilizing the tools and resources available, creators can take their projects to the next level. In the future, instead of being taken to the games page on www.roblox.com when clicking a game tile, clicking the tile will take the user to the overview page for the game, showing a small amount of information. This change improves the ease of use of the platform and the efficiency with which you can view your creations.
In a nutshell, the Creator Dashboard is becoming the primary place to manage your assets, with the addition of badge creation! Now, you can go to the creator dashboard to create and manage all your badges for any of your experiences. The tile menu has been expanded to include quick links to configure localization, create badges, developer stats, and shut down all servers for easier management. These new features make managing your Roblox content easier than ever.
| Feature | Description |
|---|---|
| Experience Grid View Updates | Grouped sort and filter elements for easier navigation and organization. |
| Tile Menu Expansion | Added quick links to configure localization, create badges, view developer stats, and shut down servers, improving workflow efficiency. |
| Creator Dashboard Expansion | Creator Dashboard will be the primary location to manage assets. This also means creators can manage badges on the go as the creator dashboard can be used on any device. |
The enhancements to the experience and developer products management on the Creator Dashboard underscore Roblox's dedication to providing creators with the best possible tools. The ability to manage badges directly through the dashboard streamlines the creative process and enables creators to fine-tune their experiences and developer products.
For those looking to start their journey in Roblox development, there are resources available to guide them through the process. You can create your first experience and learn about important concepts for developing on Roblox by recreating an experience that launches projectiles at floating platforms. Or create your first avatar character. Learn how to create your own custom avatar character using Blender and one of Roblox's downloadable template models. If you have already designed your first Roblox game, you can consider creating game passes to make your game more enjoyable and engaging.
The process of creating game passes is designed to be straightforward and intuitive. Once you've entered the Creator Dashboard and selected your game, you'll find the option to create a new pass. At this stage, you'll upload an image to visually represent the pass and give it a name that clearly communicates its purpose. Remember to include enough details if possible! Also, keep it simple and clear!
The ease of use of the Creator Dashboard also means you can now manage your badges on the go, as creator dashboard can be used on any device. This flexibility is a major benefit, allowing you to make changes and updates to your game from anywhere.
Here is a summary of the key points to keep in mind when creating game passes:
- Simplicity: Keep the pass name and description clear and concise, easily understood by players.
- Visual Appeal: Use a compelling image or icon that accurately represents what the pass offers.
- Value Proposition: Highlight the benefits of purchasing the pass. What will players get for their Robux?
- Call to Action: Encourage players to buy the pass within your game and in your description.
The future looks bright for Roblox creators. With ongoing updates to the Creator Dashboard and expanded features, the platform continues to evolve to meet the needs of its community. Whether you're a seasoned developer or just starting, the opportunities for growth and success are significant. The creator hub gives you all the tools and resources you need to learn, manage, and grow your content.
For those who have team create access but do not own a game, there might be some limitations regarding creating game passes. While you can contribute to a game in team create, the ability to monetize it via game passes typically rests with the owner. It's always recommended to communicate with the game owner to discuss monetization plans and how you can contribute to that aspect of the game.
Keep in mind, that some feedback may not reflect the actual status of the request and may mislead users if the request fails due to certain reasons. The Roblox platform is always evolving, so it's always best to stay up-to-date with the latest features and updates to maximize your success.